Workflows
Creating New Batch Prediction Workflows
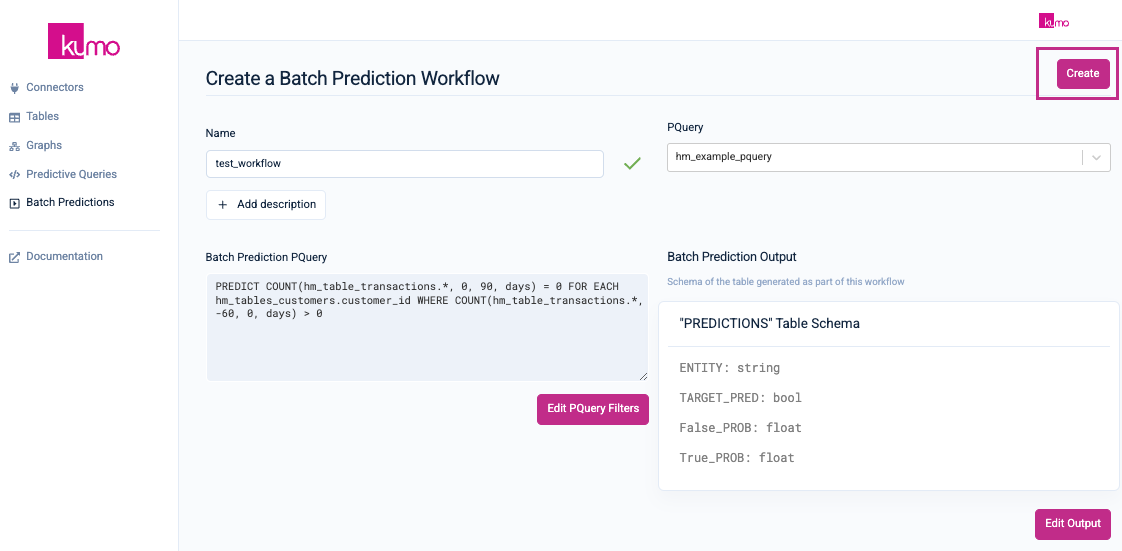
On the "Create a Batch Prediction Workflow" page, provide a name and optional description for your new batch prediction workflow. Select an existing pQuery from the "PQuery" drop-down menu.
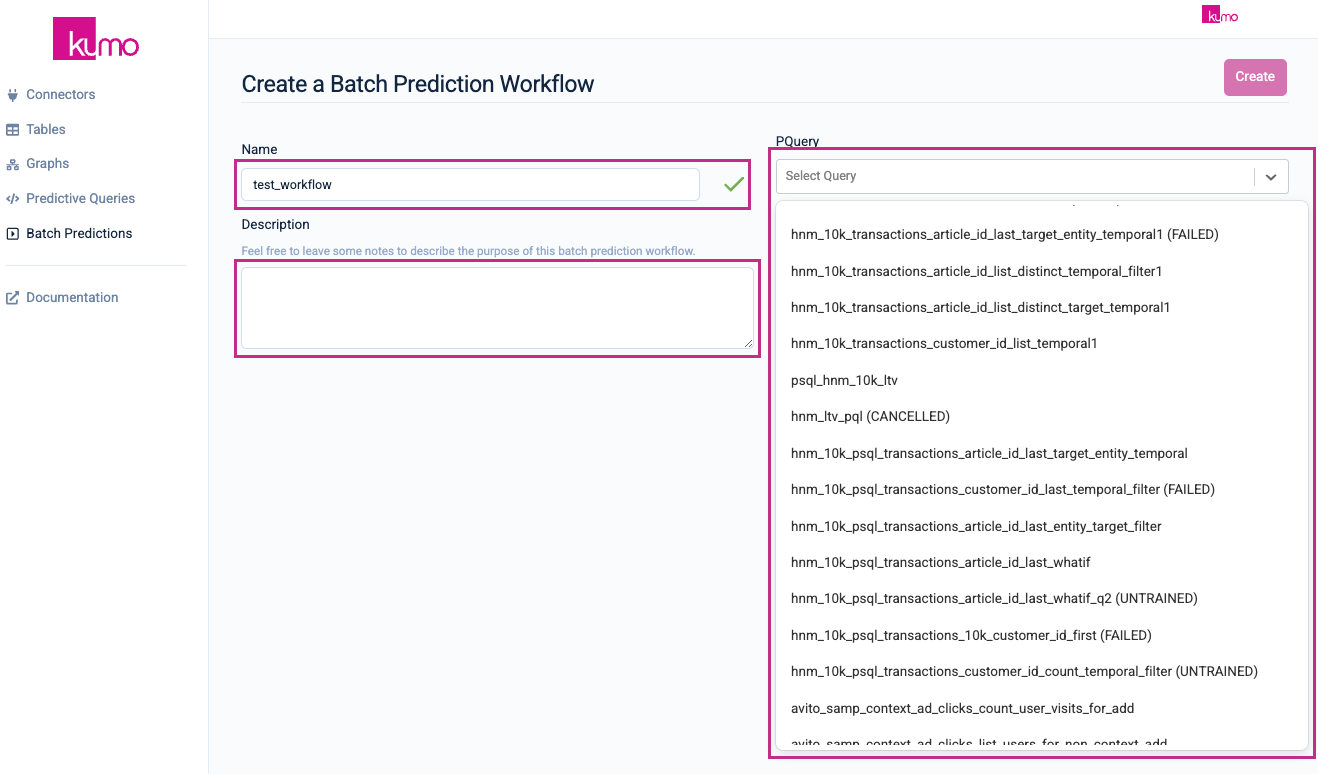
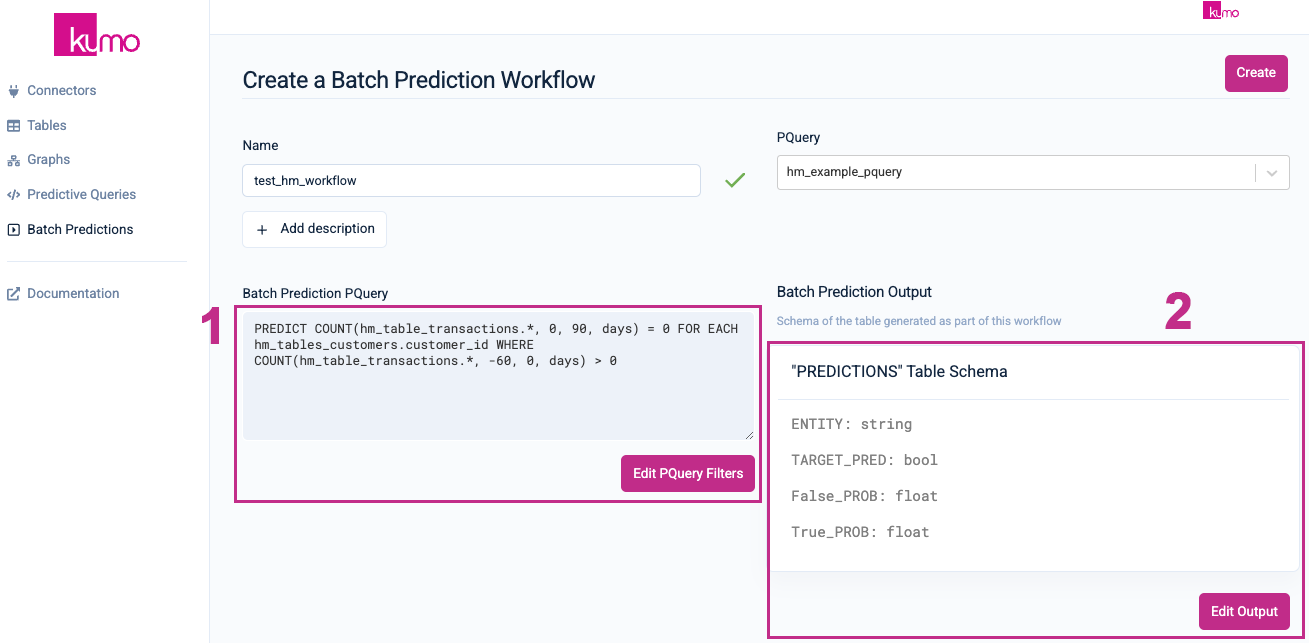
Once you've selected an existing pQuery from the "PQuery" drop-down menu, Kumo will allow you to (1) edit your pQuery filters and (2) edit your batch prediction output.
Edit PQuery Filters
Kumo allows you to modify the initial filters in your pQuery during batch prediction time. To do this, click on the Edit PQuery Filters button.
To view the graph for the pQuery you are modifying, click on the (1) "Graph Source" drop-down—this will expand the view of the original graph.
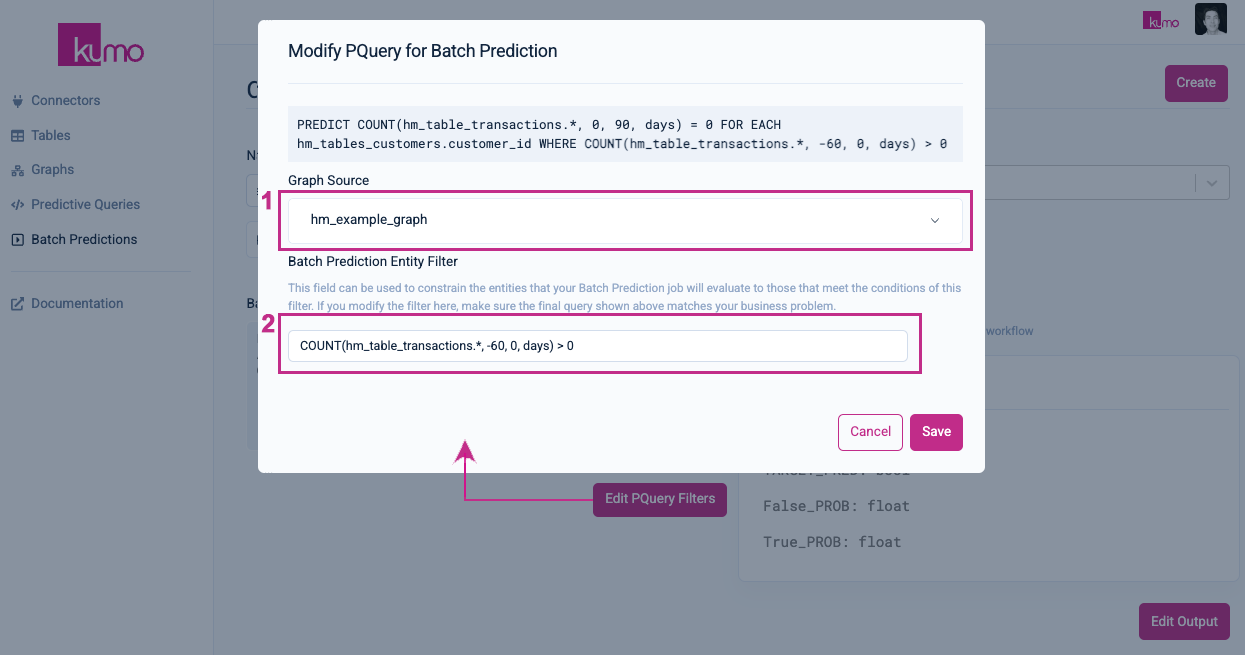
You can modify your existing batch prediction entity filter by making your edits in the (2) "Batch Prediction Entity Filter" textbox and clicking the Save button.
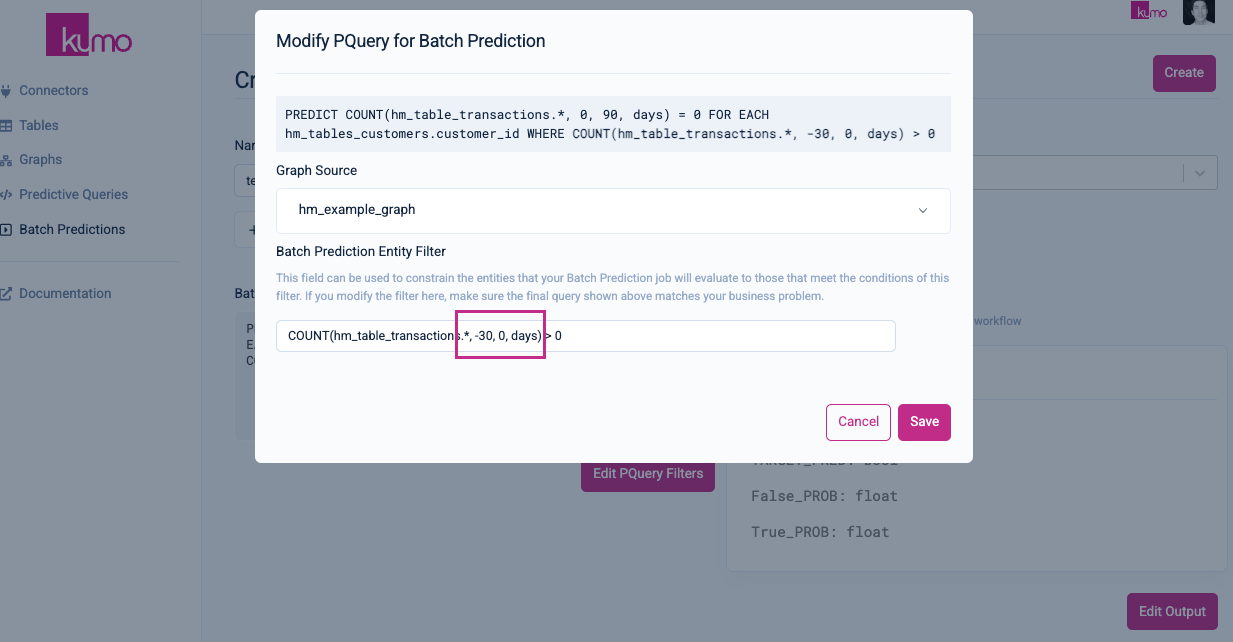
For example, modifying the clause in this "Batch Prediction Entity Filter" field from COUNT(hm_table_transactions.*, -60, 0, days) > 0 to COUNT(hm_table_transactions.*, -30, 0, days) > 0allows you to constrain your batch predictions to customers that have made transactions in the past 30 days (versus 60 days).
Saving Your Batch Prediction Workflow
Click on the Create button to save your changes and move on to the next step of running your batch prediction job.
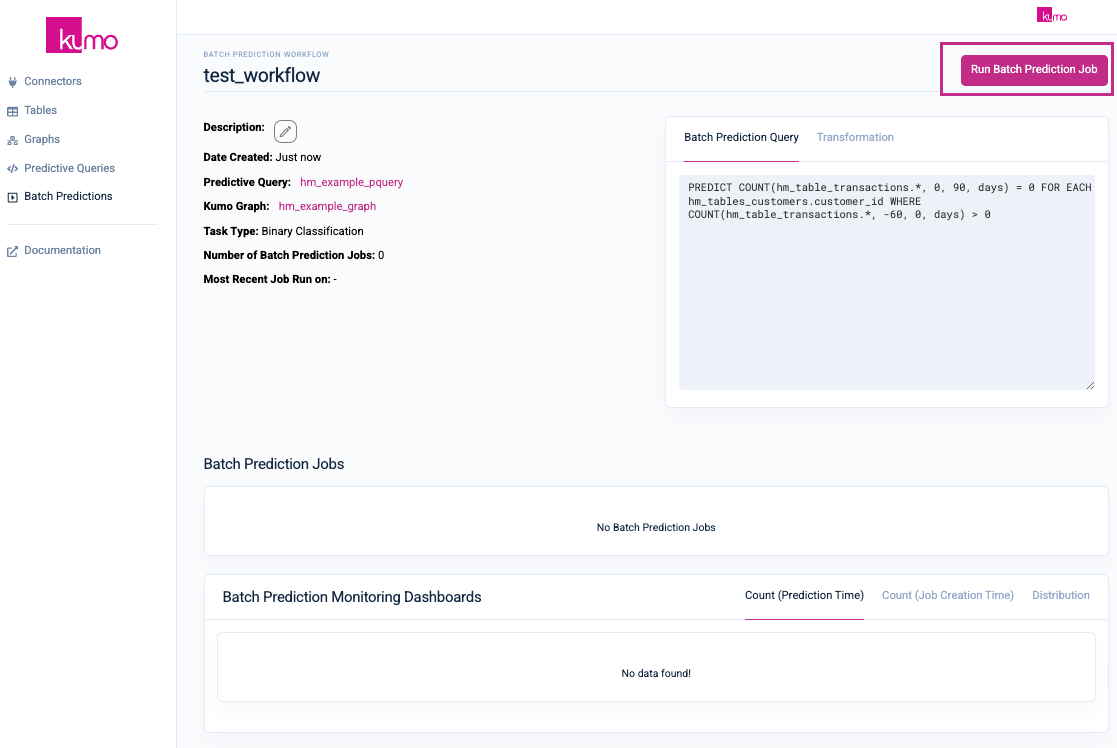
You will be routed to your new batch prediction workflow's detail page, where you can click on the Run Batch Prediction Job button to create a new batch prediction job.
Updated 2 months ago